UPDATE: The tool has been updated with a couple of bug fixes, please download again. (It has also been battle-tested a bit more now)
One of the biggest headaches right

This is my solution to this problem. Warning! This is a process involving executing SQL script and potentially corrupting databases, please be careful, and don’t blame me if this goes horribly wrong! I have destroyed several databases to get to a working solution!
We need to tackle two scenarios, new fields and new tables.
The process for new tables is straight forward, I create a SQL script that renames the tables to the new names and
The process for new fields is a bit more complicated, because, the field values need to be populated to a different table. Here I copy all the values to a temporary table. And then, when the
The process goes as followed:
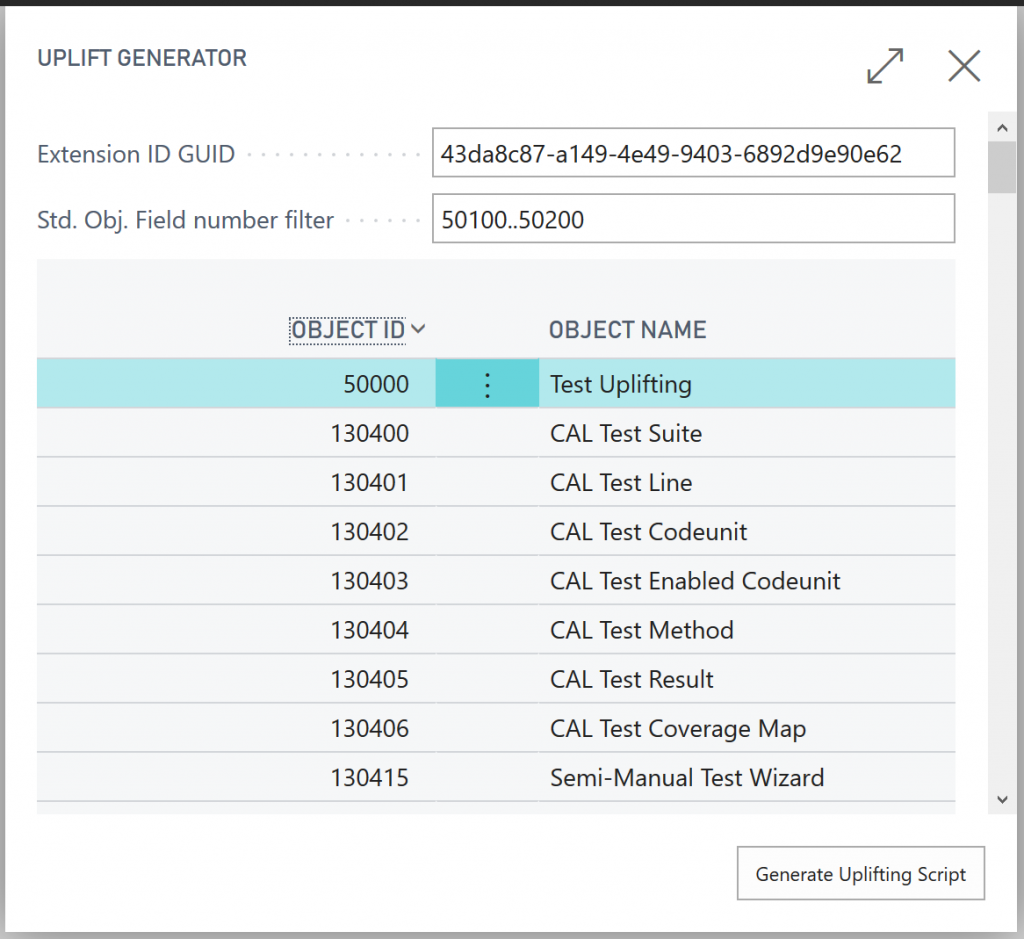
- Download and install the Uplift Generator Extension
- Run the Uplift Generator extension
a Specify extensionGuid and select table
b Generate and download SQL Scripts - Run SQL Script 1 on SQL Server
- Delete objects from C/Side
- Deploy new Extension to get new empty tables created
- Run SQL Script 2.
- Verify that everything is looking great
- Run SQL Script 3 to clean up temporary tables
First, download and run the Uplift Generator extension from VS Code.
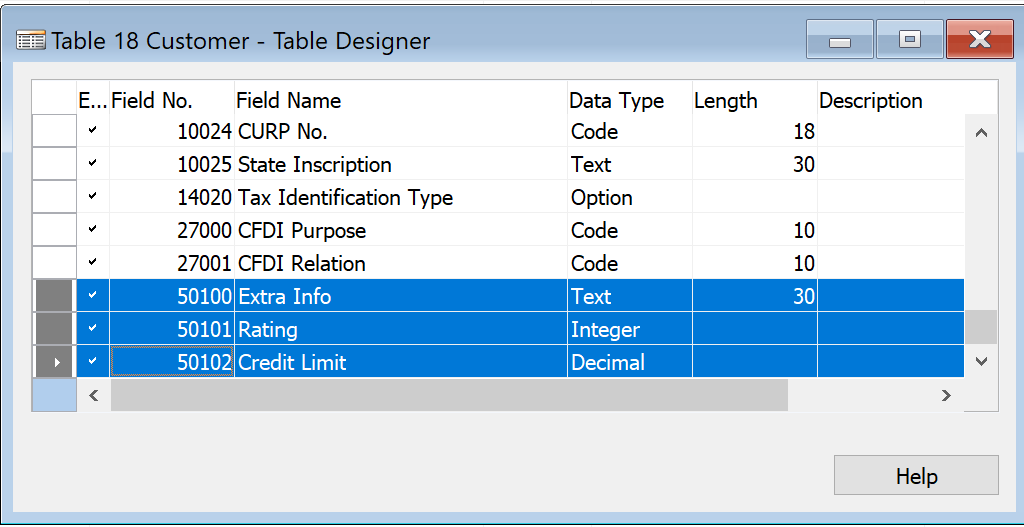
In this example, I have a new table 50000 and some fields added to the customer table:
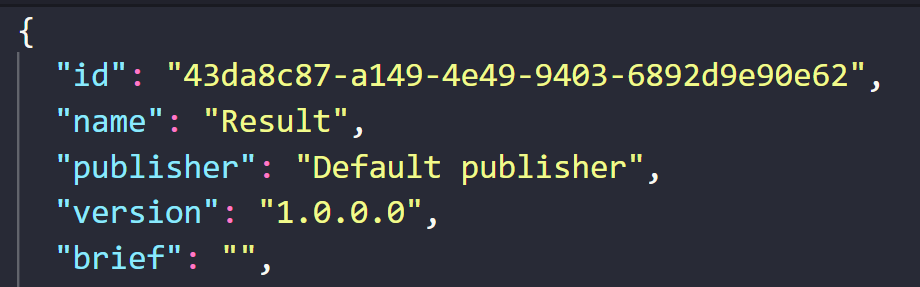
Start by specifying the id GUID from the target extension, better copy’n’paste to get it right:
Mark the tables you want and hit the Generate Uplifting Script. This will give you three SQL files, Step1, Step2 and Step3.
These are text files with a lots of SQL statements: (Don’t be alarmed if you see errors in the scripts. The error checker does not take the renaming into account)
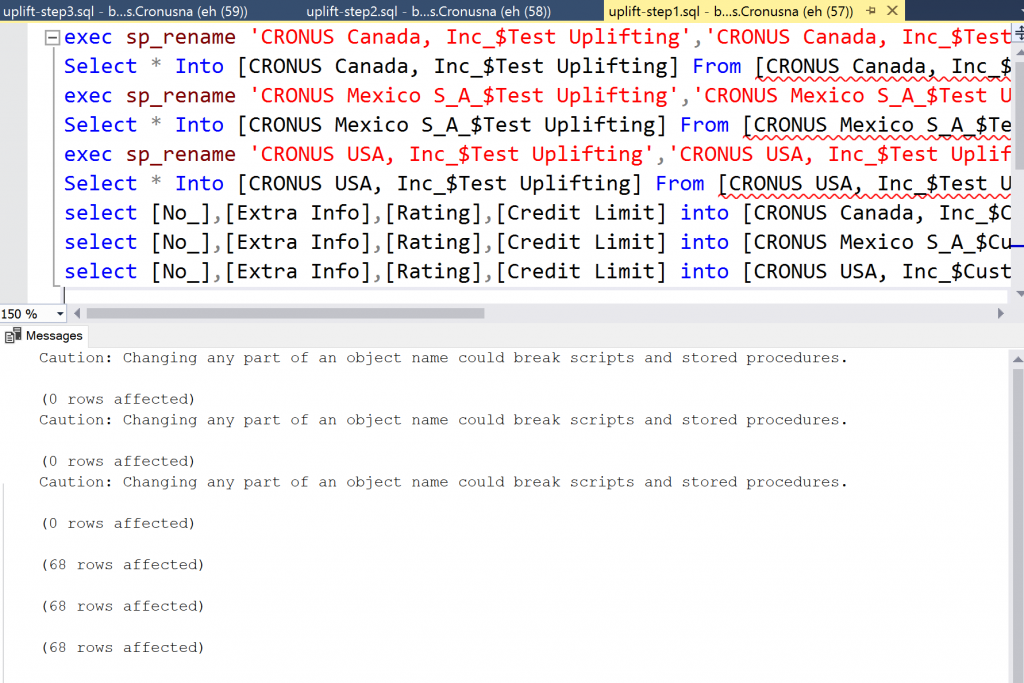
First SQL Step:
Execute SQL script #1 from SSMS or I just use the great Visual Studio Code extension for handling SQL directly in VS Code.
Now you have the tables and field values set aside for the extension (that we have NOT installed yet), next step is to delete the C/Side objects and sync the database.
After you have removed and synced all the C/Side objects it’s time to generate the new

At this point, we have new tables without any content.
Second SQL Step:
Now, execute SQL Script #2. This will swap the newly created tables for the tables we set aside in script #1. And copy the added field values into the
Verify that everything look fine, remember to sync-navtenant to be sure.
Third SQL Step:
If everything is great, run SQL Script #3 to clean up the empty tables we left in step #2.
