This guide will show how to create an app registration for use with the SharePoint Connector. Normally, you can use Device Code authentication that comes supplied with its own app registration.
You should create an app registration for each environment you want to access BC from.
(Advanced: If you’re running separate authentication in different companies (because they use different SharePoint sites), then you must also create app registrations for the companies).
First, log in to https://portal.azure.com with your admin account. Navigate to “App Registrations” and click “+ New”.
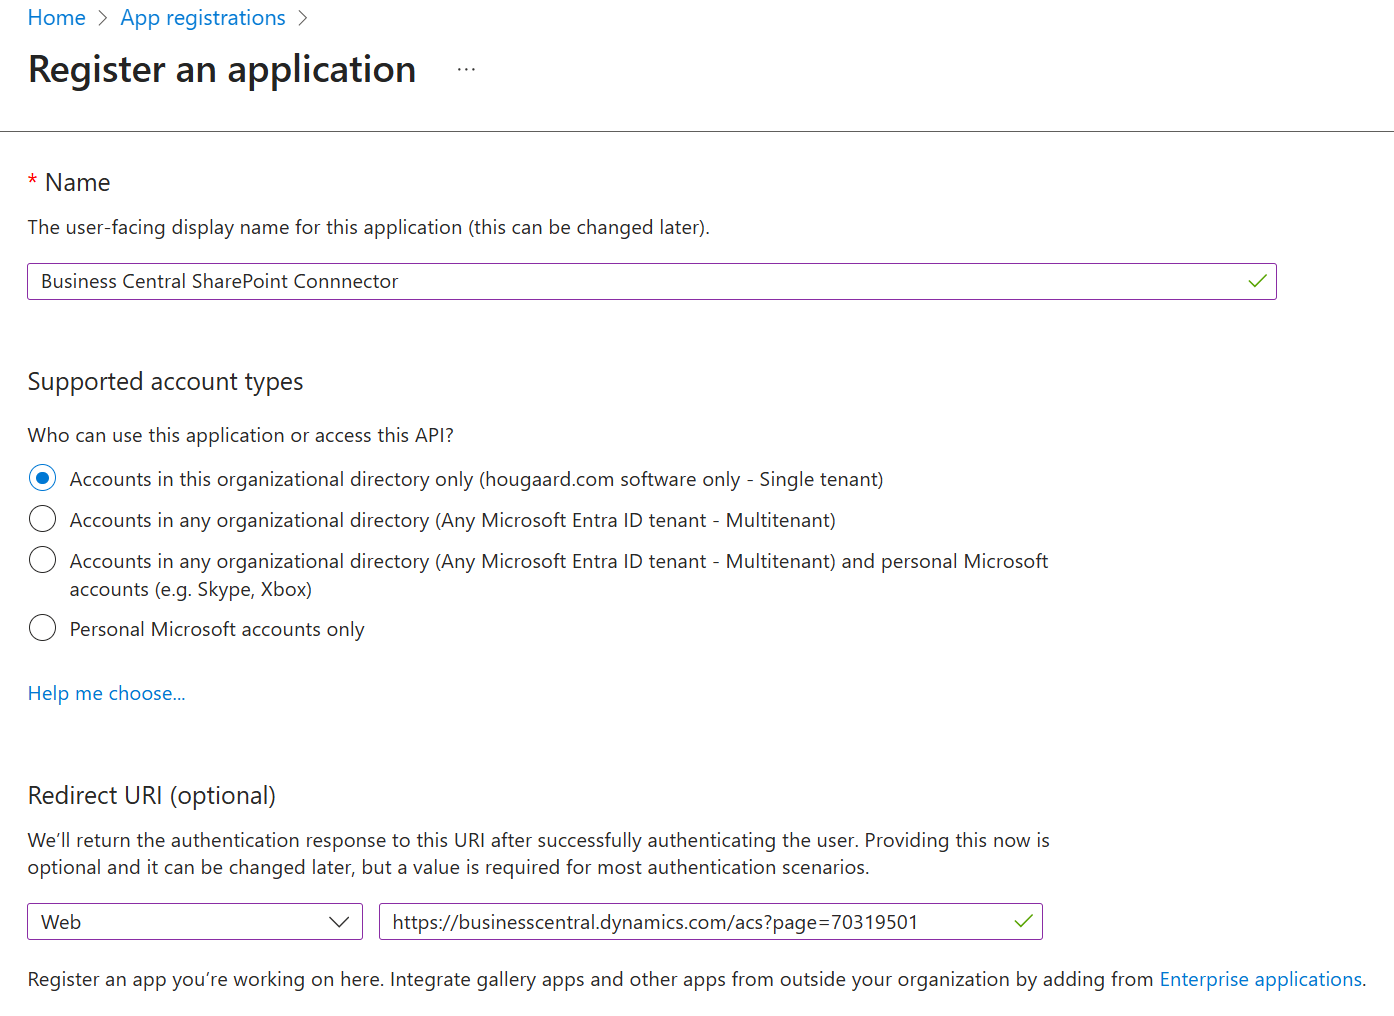
Fill out a name, and select who can use the app registration (typically only accounts in your tenant)
Add a Redirect URL (also known as a callback URL), type must be Web. The URL must match the Callback URL in the SharePoint Setup in Business Central

The URL should end with page=70319501 – if you have multiple companies, you might want to use company=CRONUS&page=70319501 to specify the right company. (Otherwise the callback can go to the wrong company and the authentication will fail).
Click Register to continue.
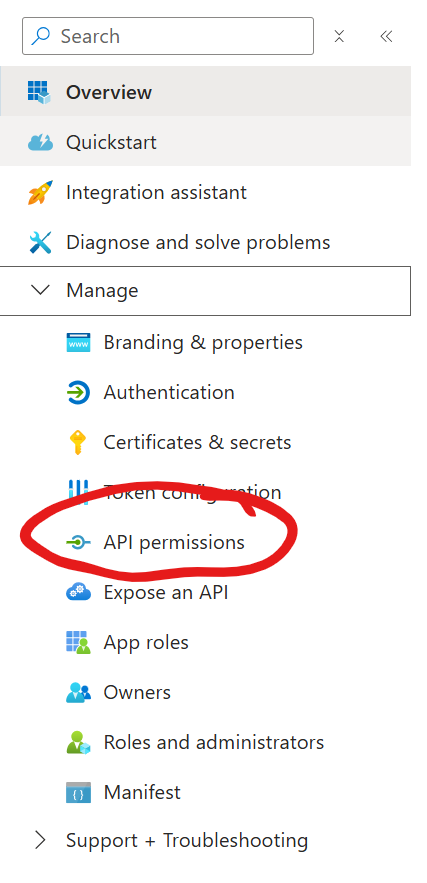
In the side menu, under Manage, select API Permissions
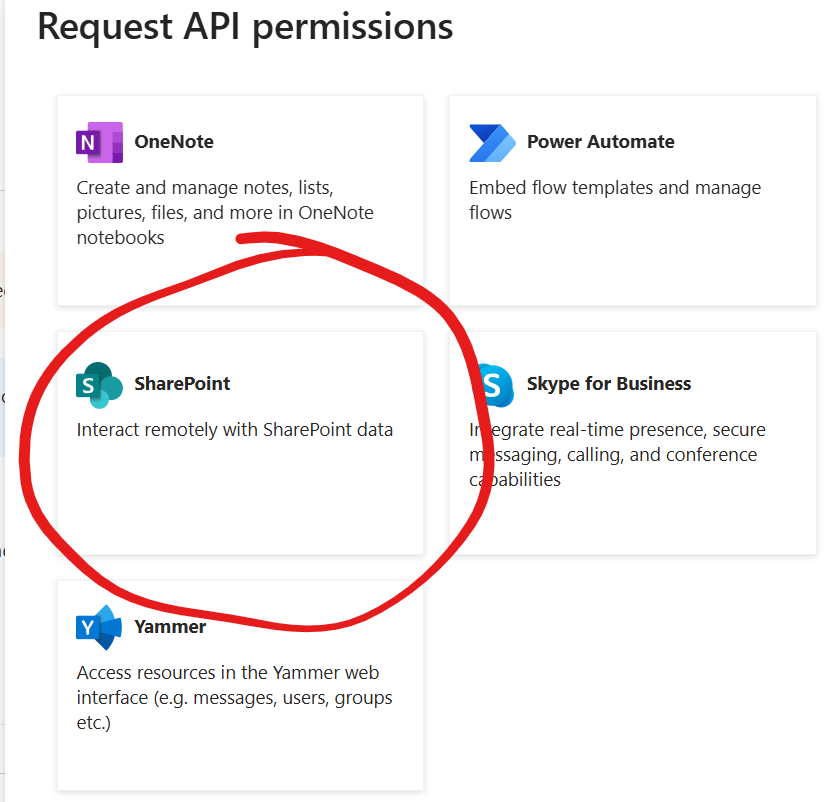
Click + Add a permission
Select SharePoint from the long list of different Microsoft services (do not select Business Central)
Now you have to options:
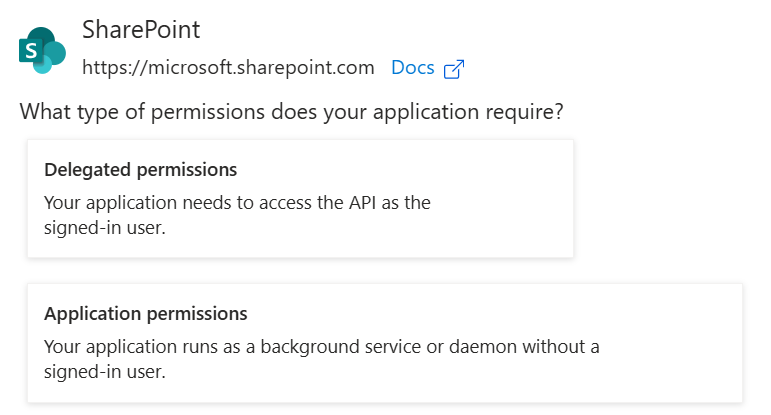
Select Delegated permissions if you’re creating a normal app registration for Proxy or Personal authentication. Select Application permissions if you’re creating certificate based authentication.
Select AllSites.FullControl
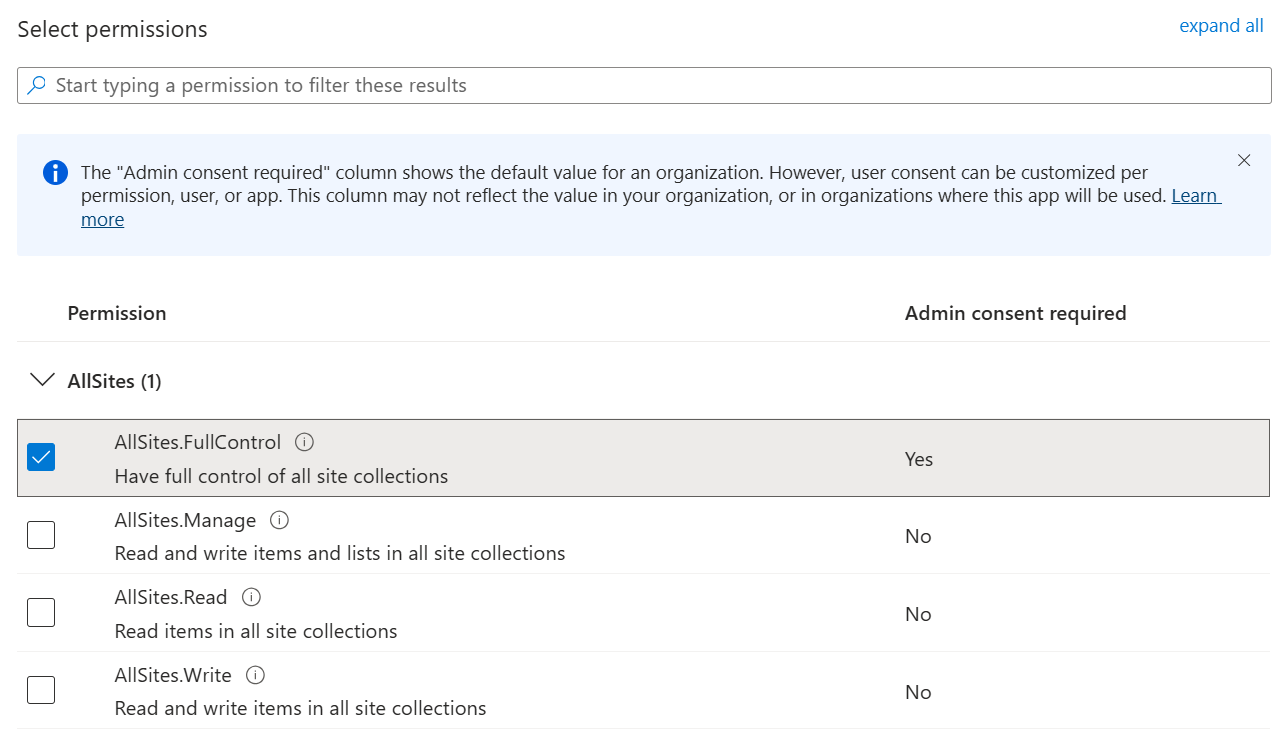
The permissions given here are not the permissions the users will receive; rather, it’s the maximum permissions that will be available if the user has matching permissions.
Click Add permissions to continue.
Now the permissions are added, but you (or an Administrator) need to consent to the permissions:
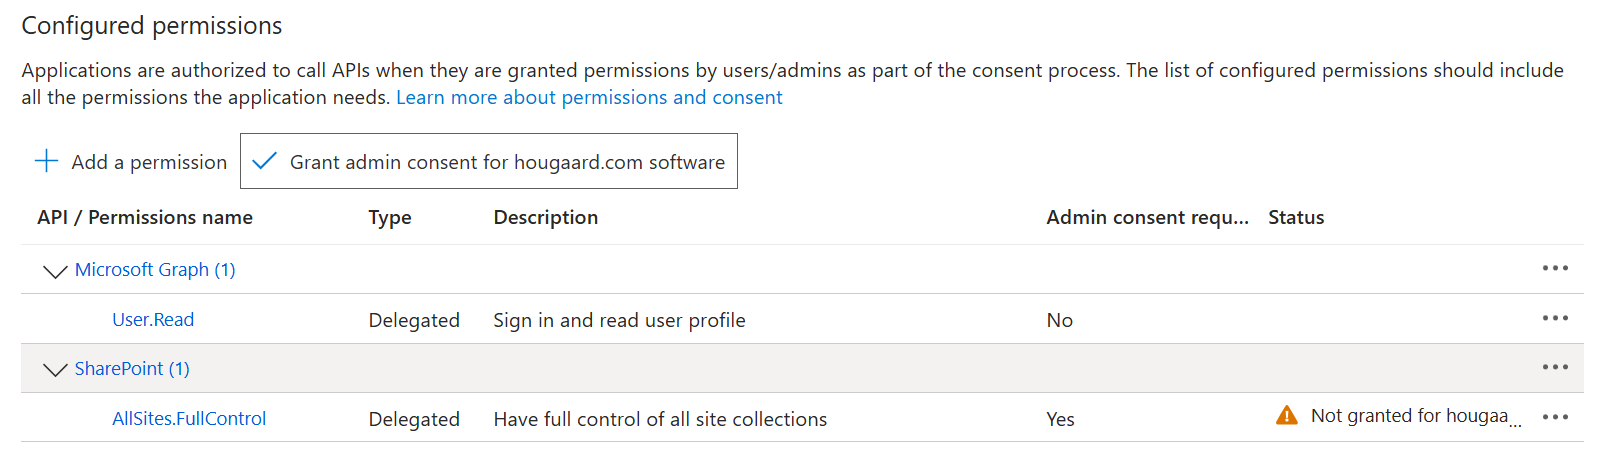
Click Gant admin consent for <tenant> to grant the consent.
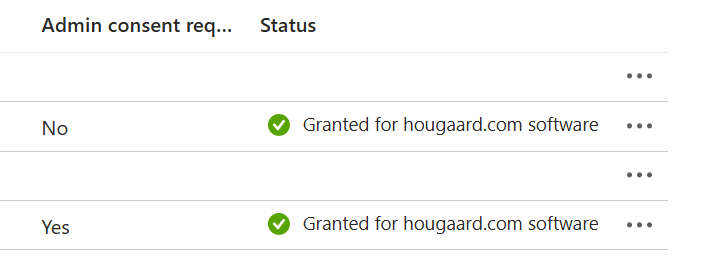
After granting, you should have green check boxes:
Now select Certificates & secrets in the menu and click + New client secret under the Client secrets (0) tab:
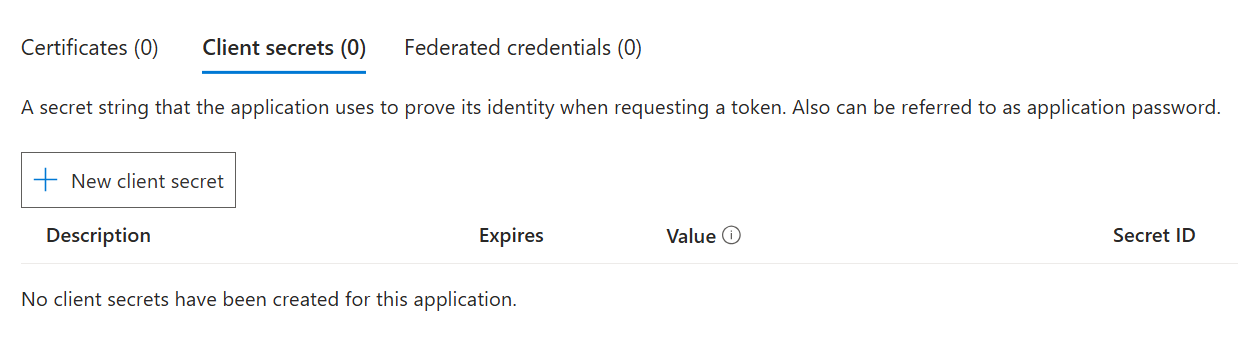
Give the secret a name and an expiration, and click Add
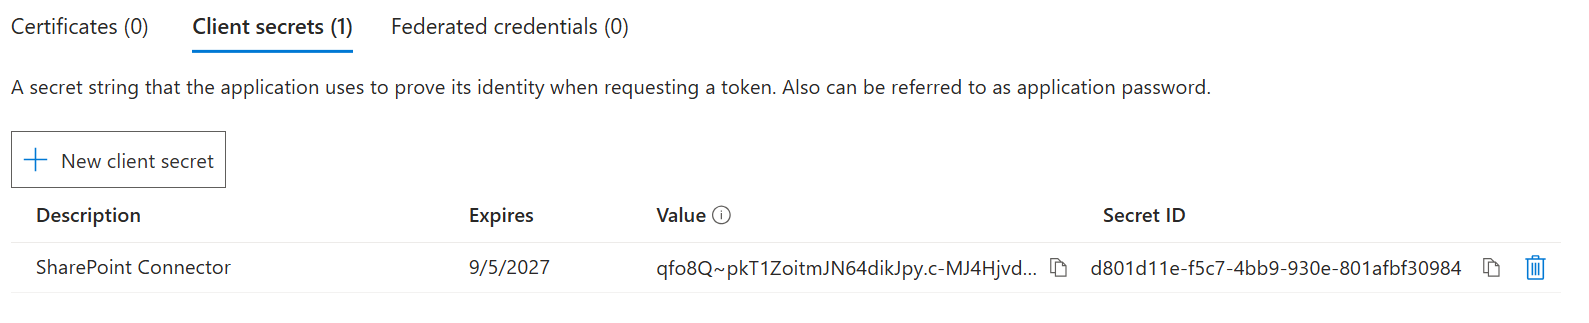
Now you have a “secret” (that’s kind of a password), as soon as you navigate away from this page, the secret can no longer be read, so at this point, save it somewhere safe.
NOTICE: It’s the “Value” from the above list, not the “Secret ID” – This is the most common mistake people make in this entire process.
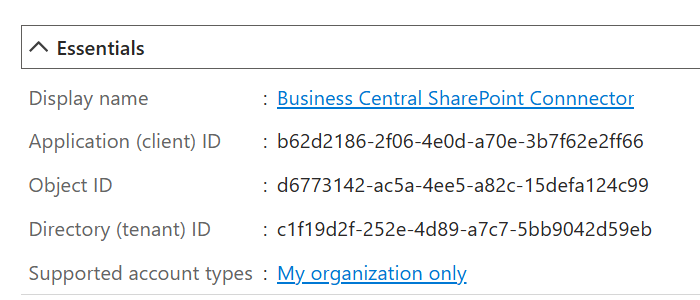
Go back to the overview and copy the Application (client) ID from the overview page:
Now you’re done in Azure, go back to SharePoint Setup in Business Central and fill in the following fields:
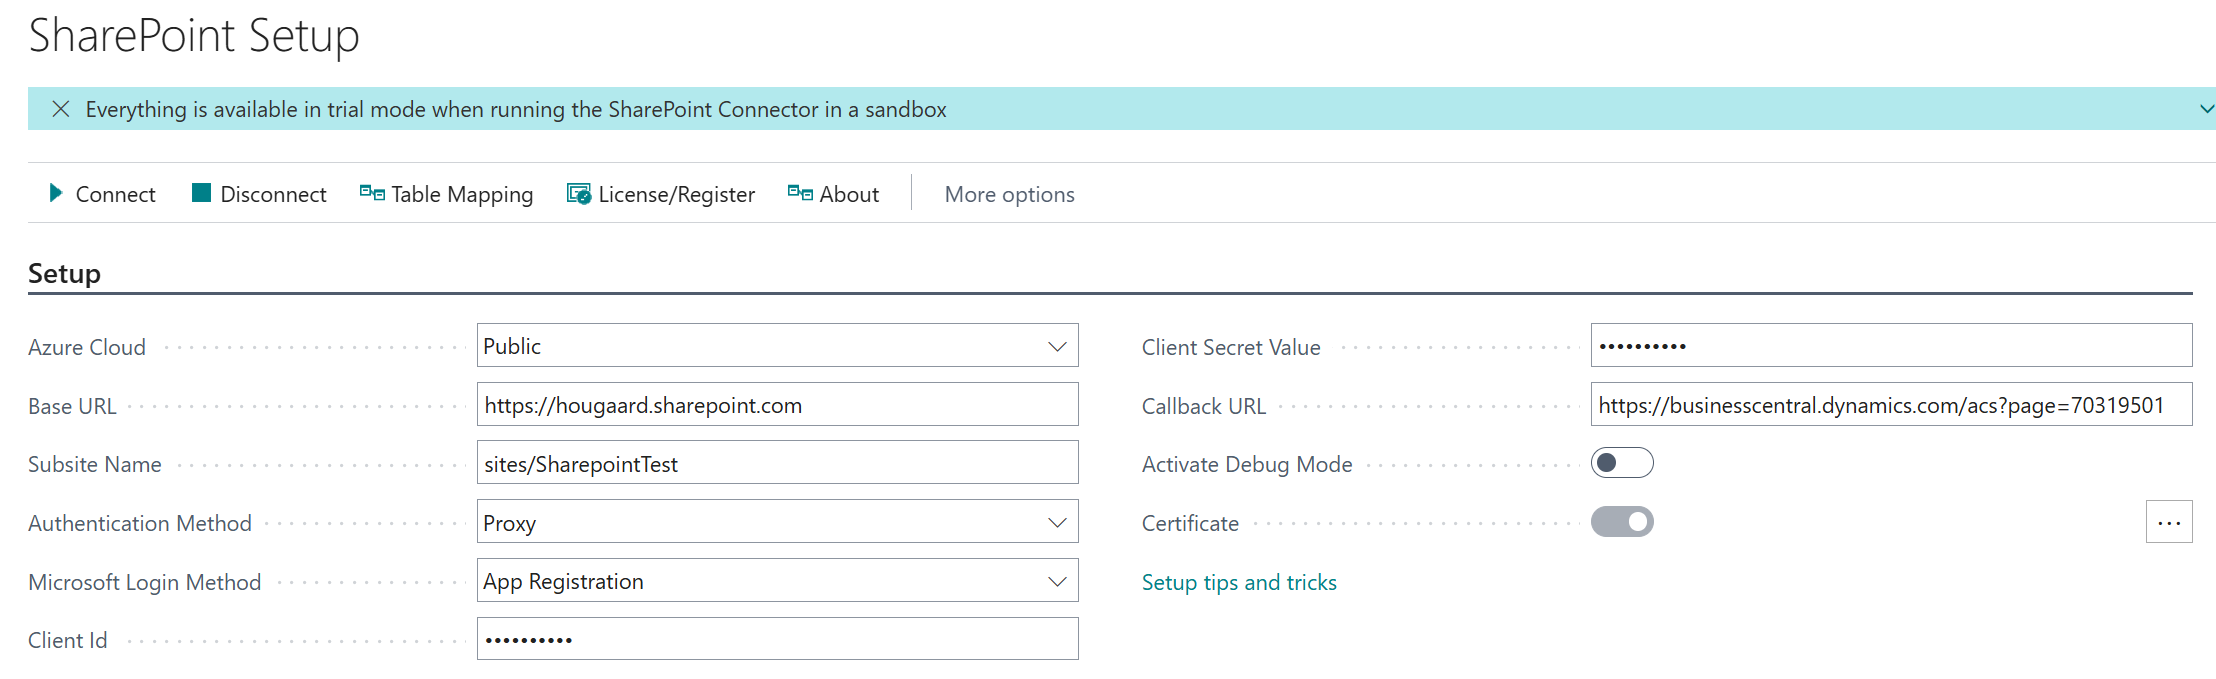
Microsoft Login Method should be App Registration
Client Id should be the Application (client) ID
Client Secret Value should be the Secret Value
Callback URL should match the Redirect URL
Click Connect and go through the login process. If the Connection Status changes to Connected to SharePoint, then everything works.
