Assuming that you’ve downloaded the app already, the first step is to search for SharePoint Setup within Business Central. A window will pop up calling for a registration code, as seen in the screenshot. Once you’ve generated this registration code, input it into the relevant field.
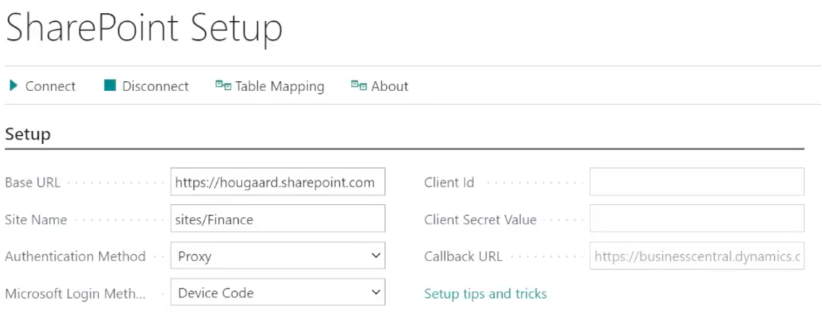
You will now be met with the Setup window with several fields. In the base URL field, fill in the URL of your SharePoint, which should look something like below.
For sitename, there are three options depending on your configuration. If your SharePoint is your base site then leave the field blank. If you are using a subsite of your url then enter “name of subsite”. Finally, if you are using one within a group of subsites then enter “sites/name of subsite”.
What is the difference between Proxy and Personal Authentication methods?
With Proxy, all users authenticate using a shared Business Central account. In this case, every user will have the same permissions. With a Personal authentication, each user has a unique login.
What is the difference between Microsoft login methods Device Code and App Registration?
App Registration requires the use of registration, client IDs and secret values, which may be useful depending on your organizations security setup and needs. The Device Code option is much simpler to use.
What is the next step after filling out all the fields in the Setup Window?
Once the fields are filled out, you can click the >Connect button located at the top of the window underneath the heading Setup Window (seen below). Copy the code shown, click the link below and paste the code into the available field. Choose the account you’d like to use and then continue through the prompts.
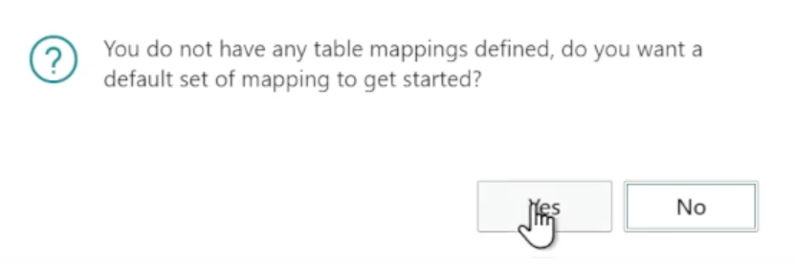
How do I configure table mapping within the Setup Window?
You can select “Yes” when asked if you’d like to use the default table mapping. Alternatively, refer to the next section “Table Mapping” or “Conditional Table Mapping” for a more detailed and customized setup.
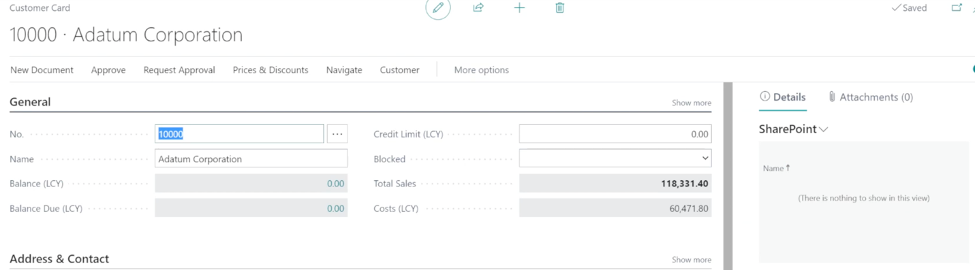
How can I check to make sure the setup was successful?
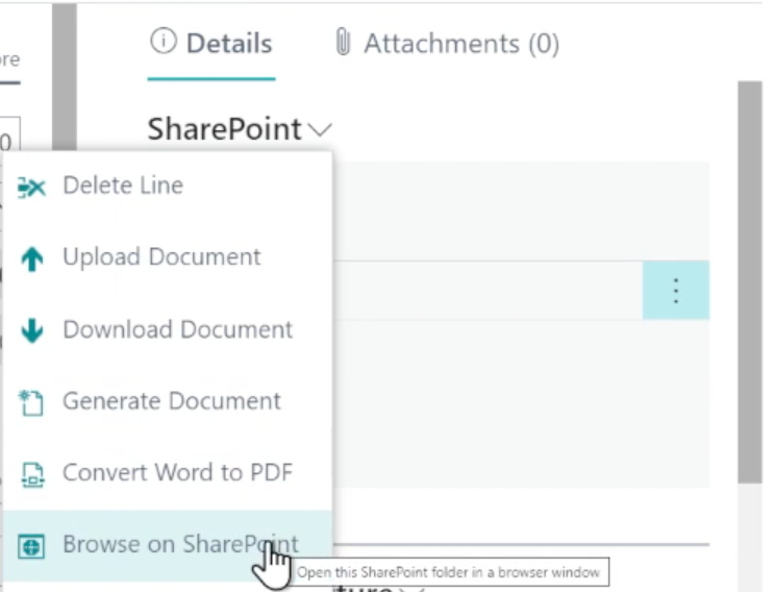
Once configured, you can navigate to a customer card, where you should now see a SharePoint box on the right-hand banner. You can now try to drag and drop a file directly onto the SharePoint box. You can now open your SharePoint through the drop-down menu to confirm that the uploaded file has been placed in the relevant subsite and customer.